Factions
Affiliates


Does the page look strange?
Try viewing it in Mozilla Firefox. A free, fast and highly customizable web browser that supports the scripting of this and numerous other web sites. Try it out here!

INTRODUCTION
I have been making quite a lot of art for Battles of Gondor and other mods, and it has been requested that I shared my techniques with the rest of the community. I will now try to guide you step-by-step through my way of creating art for bfme. I'm using GIMP, as it is free and working just as good as Photoshop. However, I'm sure that also Photoshop users will find something of interest in these tutorials.
Many people working for mods are trying hard to get that parchment look that EA put on their palantir images in bfme2. This tutorial shows one way of achieving this look, but remember there are many other ways of doing the same thing.
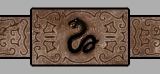
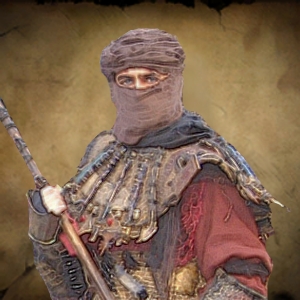
This time, I wanted a picture for the Haradrim lancers. To distinguish them from different haradrim troop types, I decided not to base this picture upon the palantir image they have in bfme1. So I started out, as normal, with my parchment background (300*300 pixels wide).

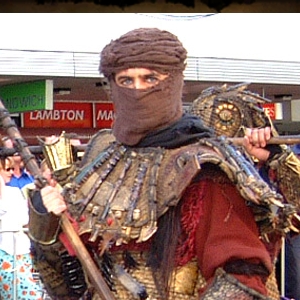
Now I had to do a Google search. Eventually I found a picture from the New Zealand LotR parade. I copied it, and pasted it as a second layer in my image file.
The time has come for cleaning the picture. With a combination of large and smaller circular brushes, I wiped away the background. The otherwise so useful option "Select contiguous regions" (a wand in the menu) wasn't any possibility in this case, as the background had so many different colours. In this part of the work, patience is of great importance. It might seem extremely boring, but for a person used to cleaning it won't take more than a minute.
Since this image has an uncommon lack of shadows, I could take a little shortcut by using some GIMP effects.
I marked the second layer
Layer>Duplicate Layer
Then I needed to do something about the edges. I marked the new layer
Filters>Blur>Blur
Filters>Edge-Detect>Edge
I set it to "Smear", "Algorithm: Sobel" and "Amount: 2,0". After having pressed OK, I went
Layer>Colors>Desaturate
Layer>Colors>Invert
Then I set the layer opacity to 25% and merged down.
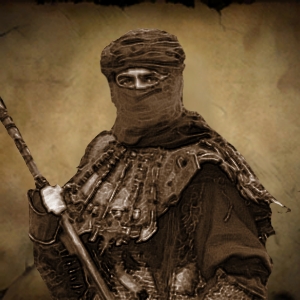
Now, time for the parchment look.
Layer>Colors>Colorize
I set "Hue: 28" and "Saturation: 40".
Once again, there is time for some brush painting. I painted the edges by hand, using a very small, circular and fuzzy brush while having zoomed in to 400%.
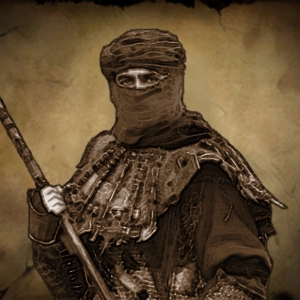
Erasing time. I used a really big (fuzzy) brush for this erasing, 60 pixels wide. I started out on "opacity: 100%" but lowered it to 25% as soon as I had got rid of the parts closest to the image edges. A combination of quick clicks and sweeps produced a nice tuning over from the parchment background.
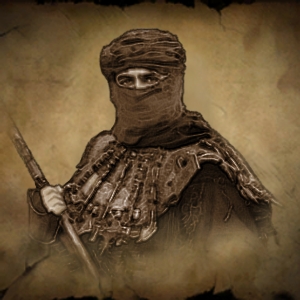
As I thought the image lacked some further parchment feeling, I thought I would better get rid of the great contrasts.
Layer>Colors>Brightness-Contrast
I set contrast to -75. As the picture turned gray, I had to colorize it again.
Layer>Colors>Colorize
As before, I set "Hue: 28" and "Saturation: 40". The only difference from the last colorization is that I also set "Lightness: 20".
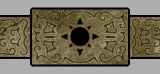
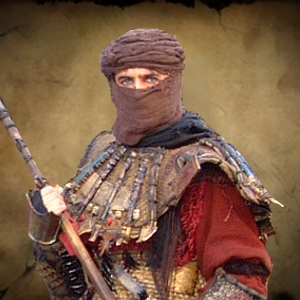
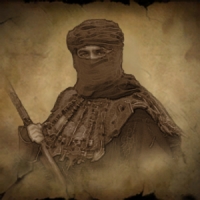
After this, I decided my palantir image was finished. I resized to 200*200 pixels and saved it as .jpg with maximum quality. Here's the final version:
FACTIONS
CLICK TO VIEW